Repotting often gets described as an annual obligation, but moving a healthy plant into a much larger pot can create as many problems as it solves. Signs that matter include tightly circling roots, a plant that dries unusually fast and limited space for growth. When a change is justified, prepare the new container before lifting the old one.
Decide whether it actually needs moving
Check for roots crowded at the drainage holes, a heavily root-bound mass or soil that no longer behaves well. A few visible roots do not automatically mean trouble. If the plant seems healthy and its container still works, it can usually stay where it is. If growth has slowed, also consider light, temperature and season before deciding that more pot volume is the answer.
Pick one modest size up
A new pot only a little wider than the existing root ball is often easier to manage than a dramatic jump. Make sure it has proper drainage. Buy a suitable fresh potting mix for the plant type; don't use ordinary garden soil in an indoor container. Read mix packaging and handle it carefully, including sensible hygiene and avoiding inhaling dust from potting products.
Prepare a calm working area
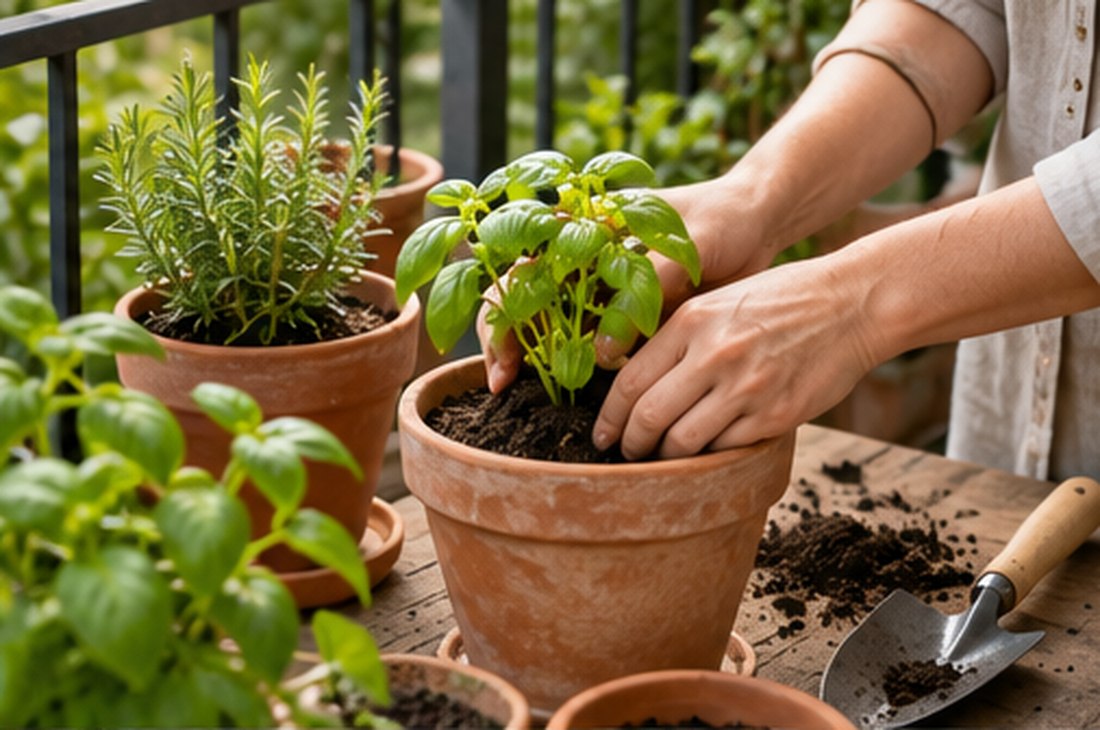
Work on a covered table or outdoors in a safe space. Put newspapers or a washable mat down, have water ready and protect surfaces from moisture. Avoid leaving loose mix where young children or pets could get into it. If the plant is large or heavy, ask for help rather than lifting awkwardly. Remove the decorative cover pot before trying to free the nursery pot.
Ease the roots out gently
Support the plant near the base and slide the pot off without pulling hard on stems. Loosen only tightly matted outer roots where appropriate and remove badly decomposed material carefully. Place the plant at roughly its previous growing depth and fill around with fresh mix without compacting it like concrete. Leave a little gap at the top for future watering.
Settle the plant and observe
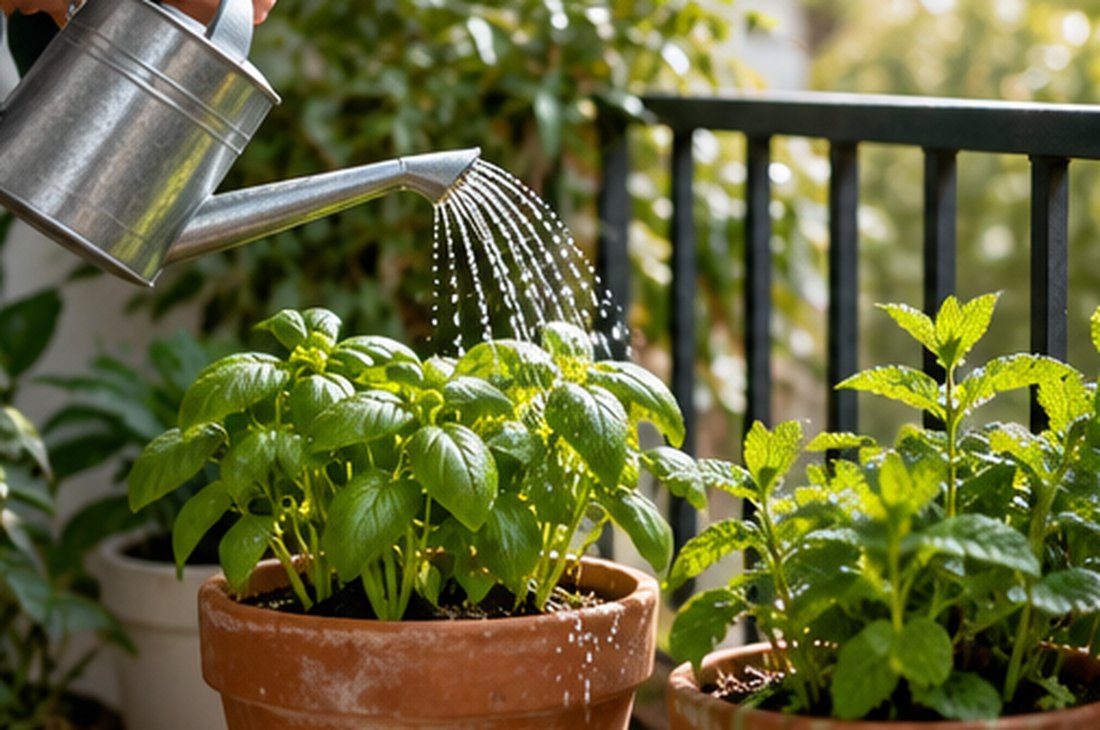
Water in according to the needs of the species and mix, allowing excess to drain. Return it to a suitable light position without immediately adding extra fertiliser, intense sun or multiple other changes. Some plants need time to adjust. Keep an eye on the soil over the following days because the new pot's drying behaviour may be different from the old one.
Conditions, products and homes vary. This article is general information, not a substitute for professional advice about structural, electrical, plumbing, health, or specialist horticultural issues. Follow product instructions and local rules where relevant.